World Runtime Setting
A component that configures the runtime behavior of the entire world.
Properties
| Properties | function | Default value |
|---|---|---|
| Use Moving Platform | When this value is turned on, your avatar will move along with the floor when it stands on a moving floor in the world. | on |
| Moving Platform Horizontal Inertia | When this value is on, your avatar will be affected by the floor’s horizontal velocity (XZ axis) when leaving a moving floor. | off |
| Moving Platform Vertical Inertia | When this value is on, the avatar will be affected by the vertical velocity (Y-axis) of the floor when it leaves the floor it is moving on. | on |
| Use Clambering | Turning this value on will allow clambering in the world. | on |
| Use World Shadow | Turning this value on will enable real-time shadows to be cast on the world. | on |
| Use Cluster HUD v2 | If you turn this value on, the new version of the operation UI will be applied. Please check the bottom of this page for details. | off |
Detail
You can place up to one World Runtime Setting component on a scene. If you do not place the component, all property values will be treated as default values.
The settings of this component are not reflected in the preview on the Unity editor. If you want to check the avatar behavior, upload the world and check it on the cluster app.
If the behavior when components are not placed is different from the default values in the table above, the CCK version may not be the latest. Please make sure your CCK version is up to date and upload your world again.
Use Cluster HUD v2 option details
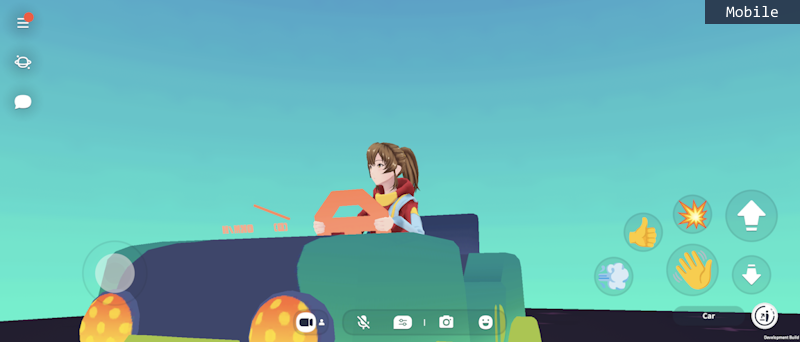
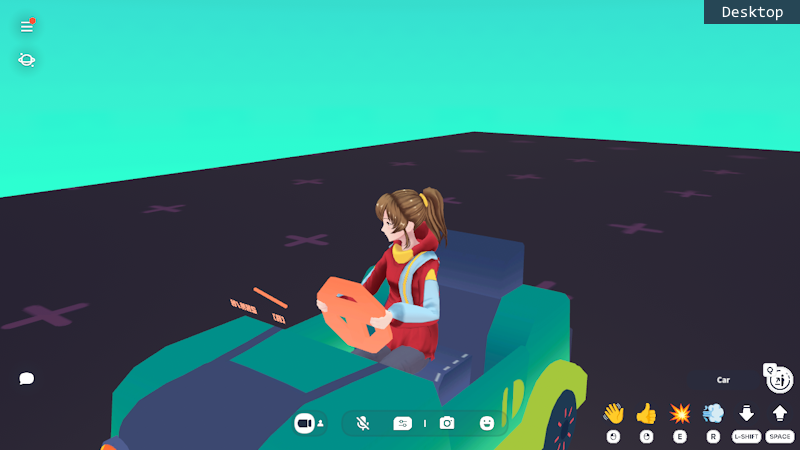
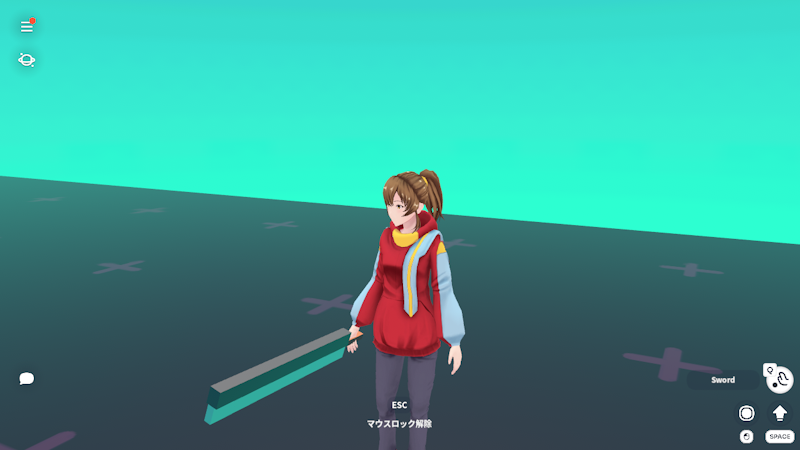
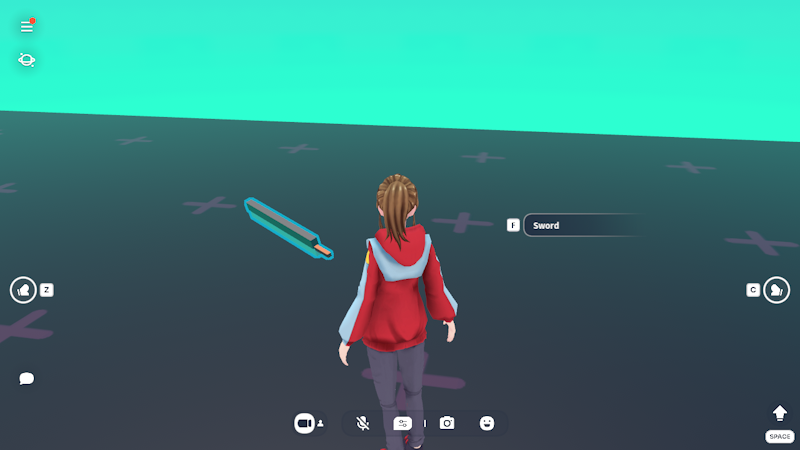
Enabling the Cluster HUD v2 option provides a new control UI, with a new UI layout and additional buttons available as a beta feature.
Below are some sample UIs using Cluster HUD v2 and the beta features on mobile and desktop:


How Cluster HUD v2 works
Depending on whether the Use Cluster HUD v2 option is on or off, the operation and behavior in the mobile and desktop environments will change as follows. The operation method in the VR environment is the same whether this option is on or off.
| Operation/Behavior | Old behavior (option off) | Cluster HUD v2 (option turned on) |
|---|---|---|
| Whether to hold the item in the left or right hand | The grip changes depending on whether you use left or right click or where you tap on the screen. | Always hold items in your right hand |
| Number of items you can carry at once | Up to two in total on both hands | Up to one with your right hand |
| Posture when holding an item | Hold the item up in front of your avatar | The same motion as for bare hand will be applied during holding the item. |
| Third person camera when holding an item | Always get behind the avatar | The same camerawork as for bare hands will be applied. |
| Release/get off operation | Varies depending on item type and the hand holding the item | Release and get off with a common input |
In particular, the operation and behavior of grabbing items has been simplified compared to previous versions, making it suitable for detailed control via scripts.
The actions to release item or get off from an item are as follows in Cluster HUD v2.
- On mobile, a “release” or “get off” button will be displayed in a common location.
- On desktop, press Q to “release” or “get off”.
- If you are riding a Ridable Item and holding a Grabbable Item, then getting off operation will have priority.

In addition, Cluster HUD v2 displays a guide UI when you approach an item that can be operated. If the item name is available (such as Grabbable Item, Ridable Item, or Interactable Item), the name will be displayed; if the item name is blank, instructions on how to operate it (such as “ride”) will be displayed.
- By clicking or tapping directly on the Guide UI, you can perform operations depending on the type of item.
- On desktop, you can also use the F keys to interact with items.
- You can still use the direct click/tap method on items on both desktop and mobile.

Worlds where the Cluster HUD v2 option is suitable
The Use Cluster HUD v2 option is suitable for worlds like the following:
- The worlds in which Grabbable items do not need to be held in front of the avatar or aimed at in the traditional way.
- The worlds which want the player to use the item with guide UI, to improve item operability.
- The worlds which want to customize avatar movements and camera movements in the world using the beta features.
- In particular, the beta feature that shows additional buttons requires the Use Cluster HUD v2 option to be turned on, see the Script Reference for more information.
On the other hand, turning off the Use Cluster HUD v2 option is appropriate for worlds like the one below:
- The worlds include items such as guns that require aiming and arm movements, and wants the player to hold grabbable items in the traditional way.
- The worlds in which the players should be able to have different items in each hand.
- The worlds in which the players should be able to pick up and drop items while in a vehicle.
- The worlds that should hide the item guide UI and de-emphasize interactable items in the world.
Other points to note
- ja: World Runtime Setting
- ko: World Runtime Setting
- zh-cn: World Runtime Setting
- zh-tw: World Runtime Setting